Satin stitch is one of those magical stitches that can transform any embroidery project. It’s perfect for filling in shapes with smooth, shiny coverage that really makes your designs pop. Whether you’re brand new to stitching or looking to sharpen your skills, satin stitch is a must-have in your embroidery toolkit. And guess what? It can be easier than it looks! Here’s how to do it, along with some of my favourite tips to keep your stitches smooth and straight.
What is satin stitch?
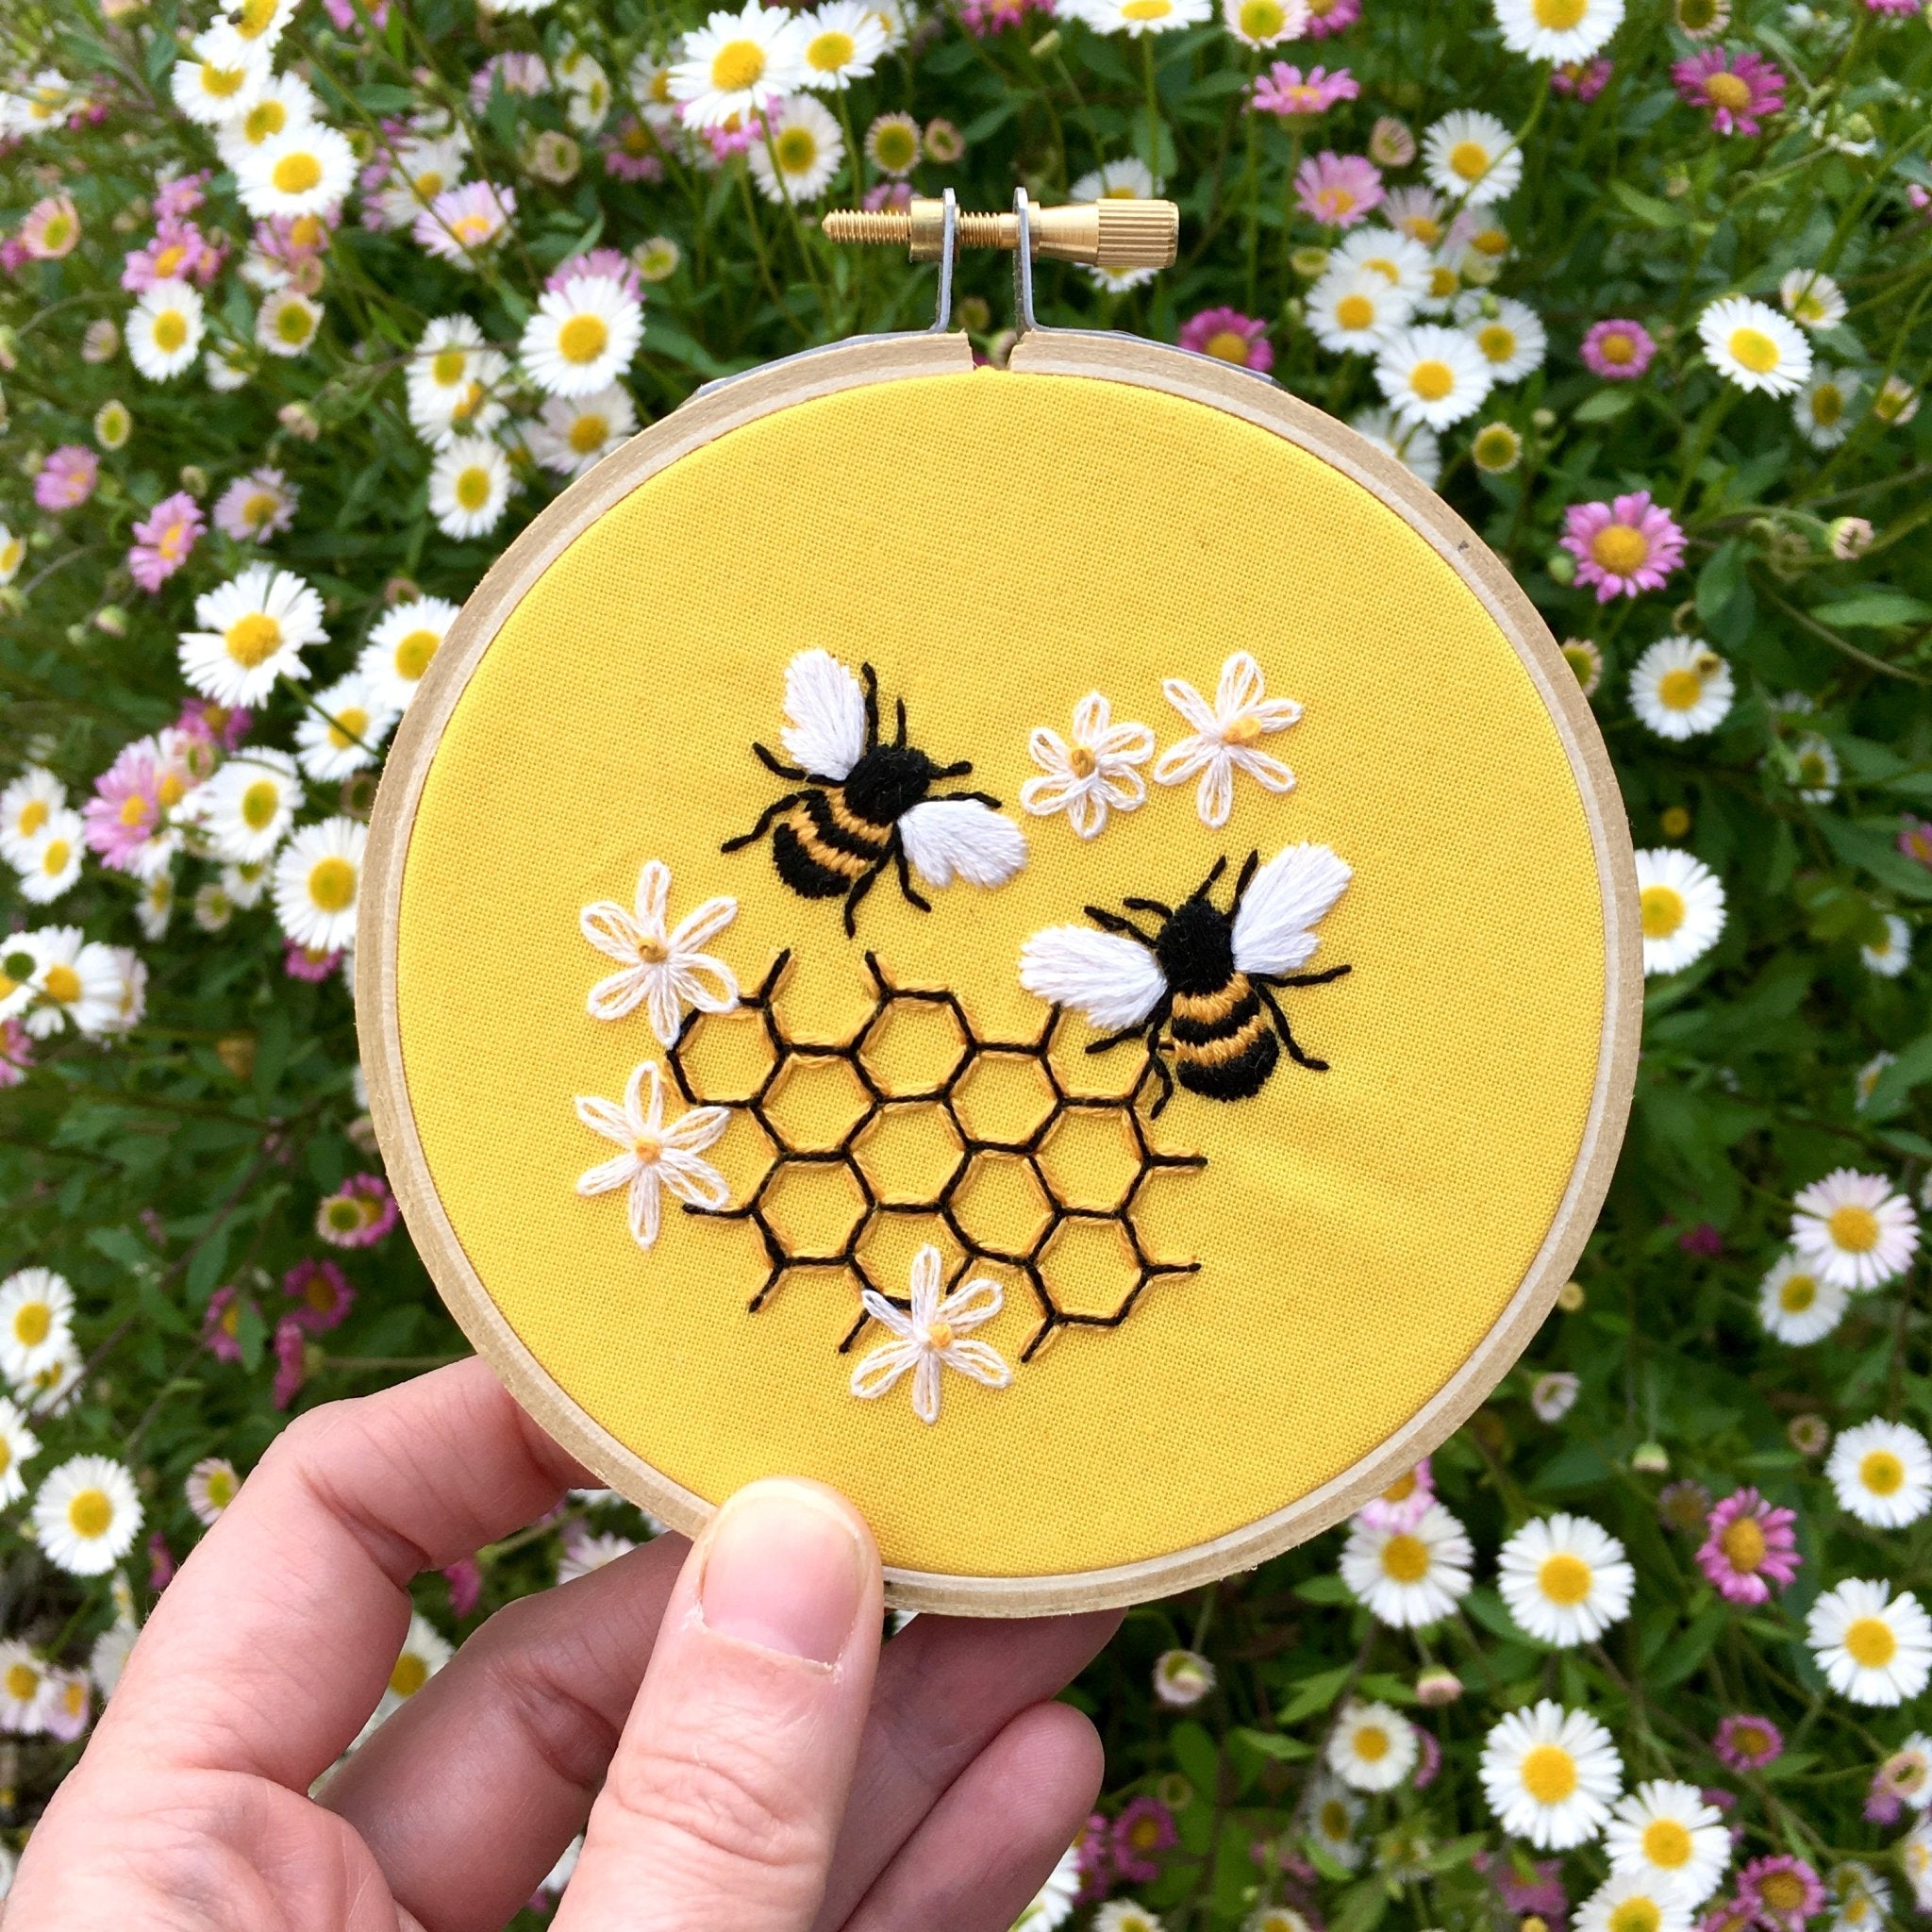
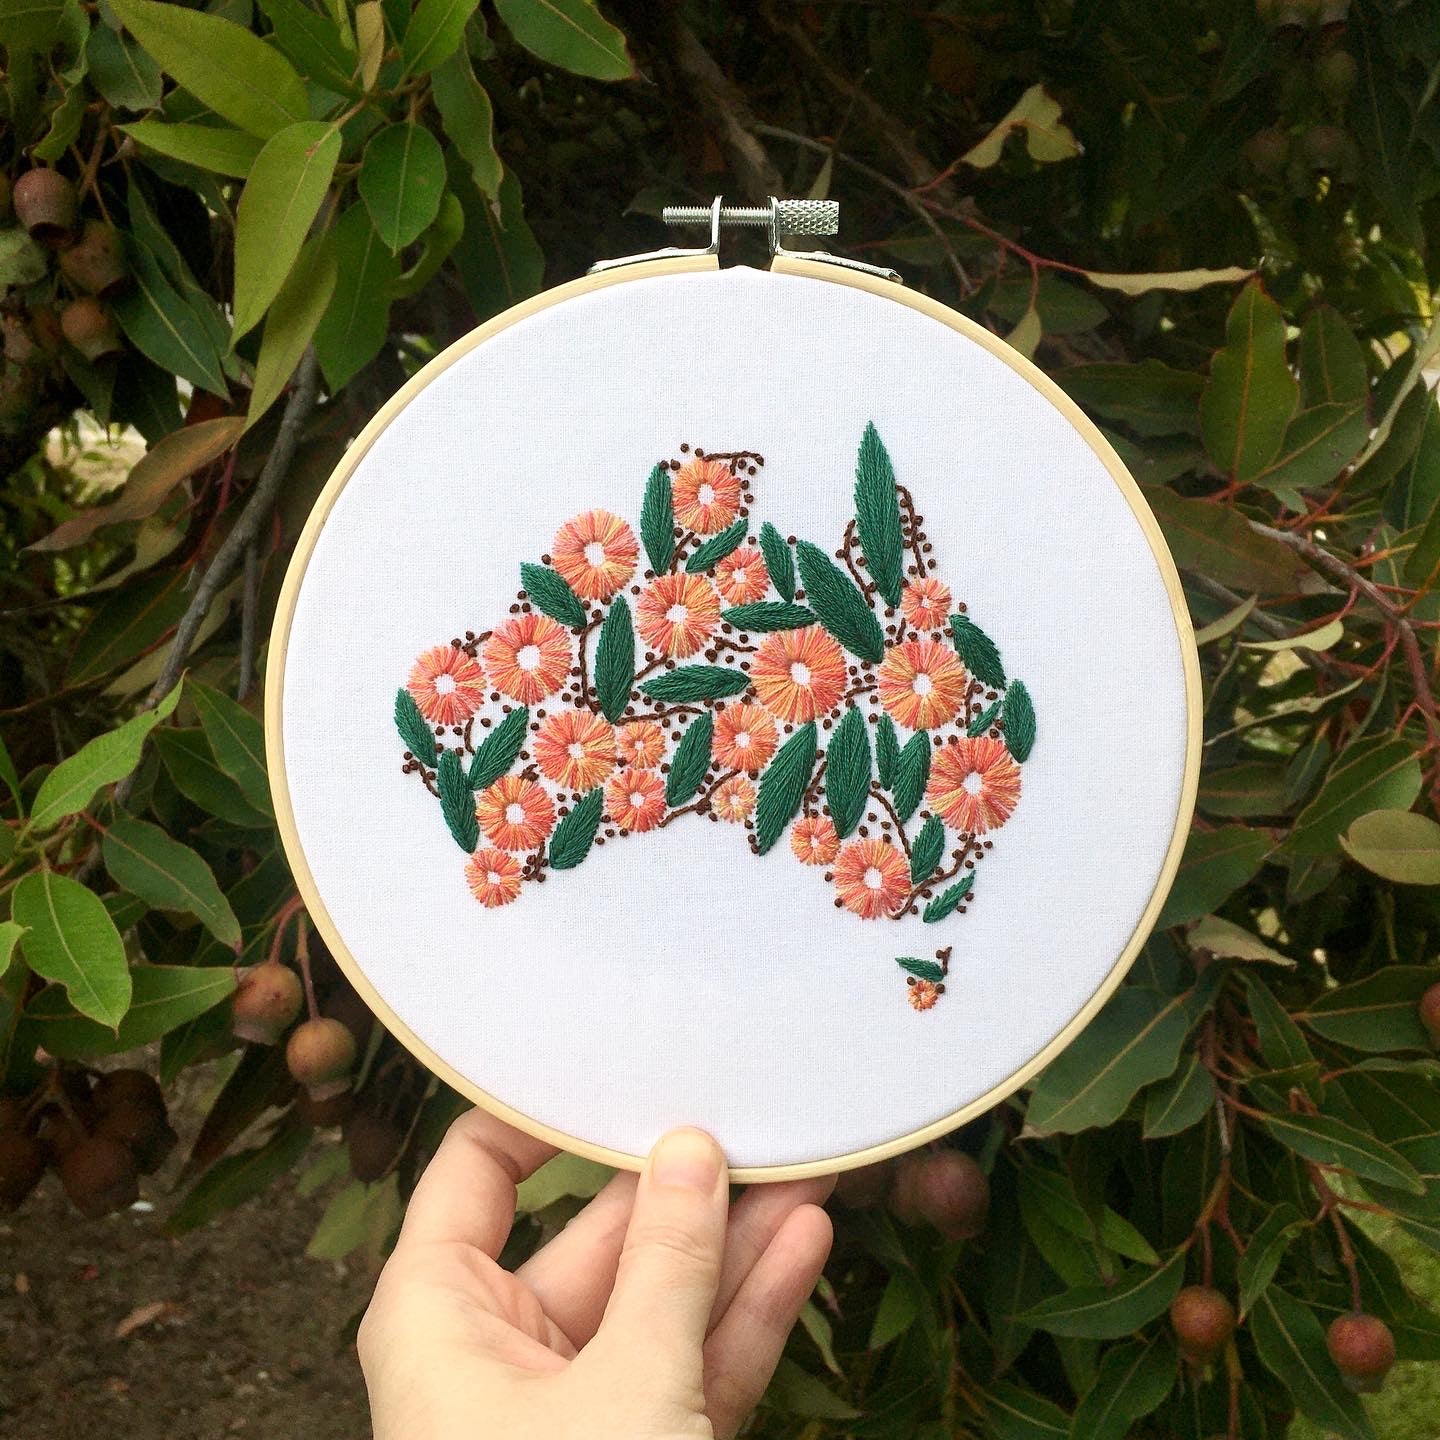
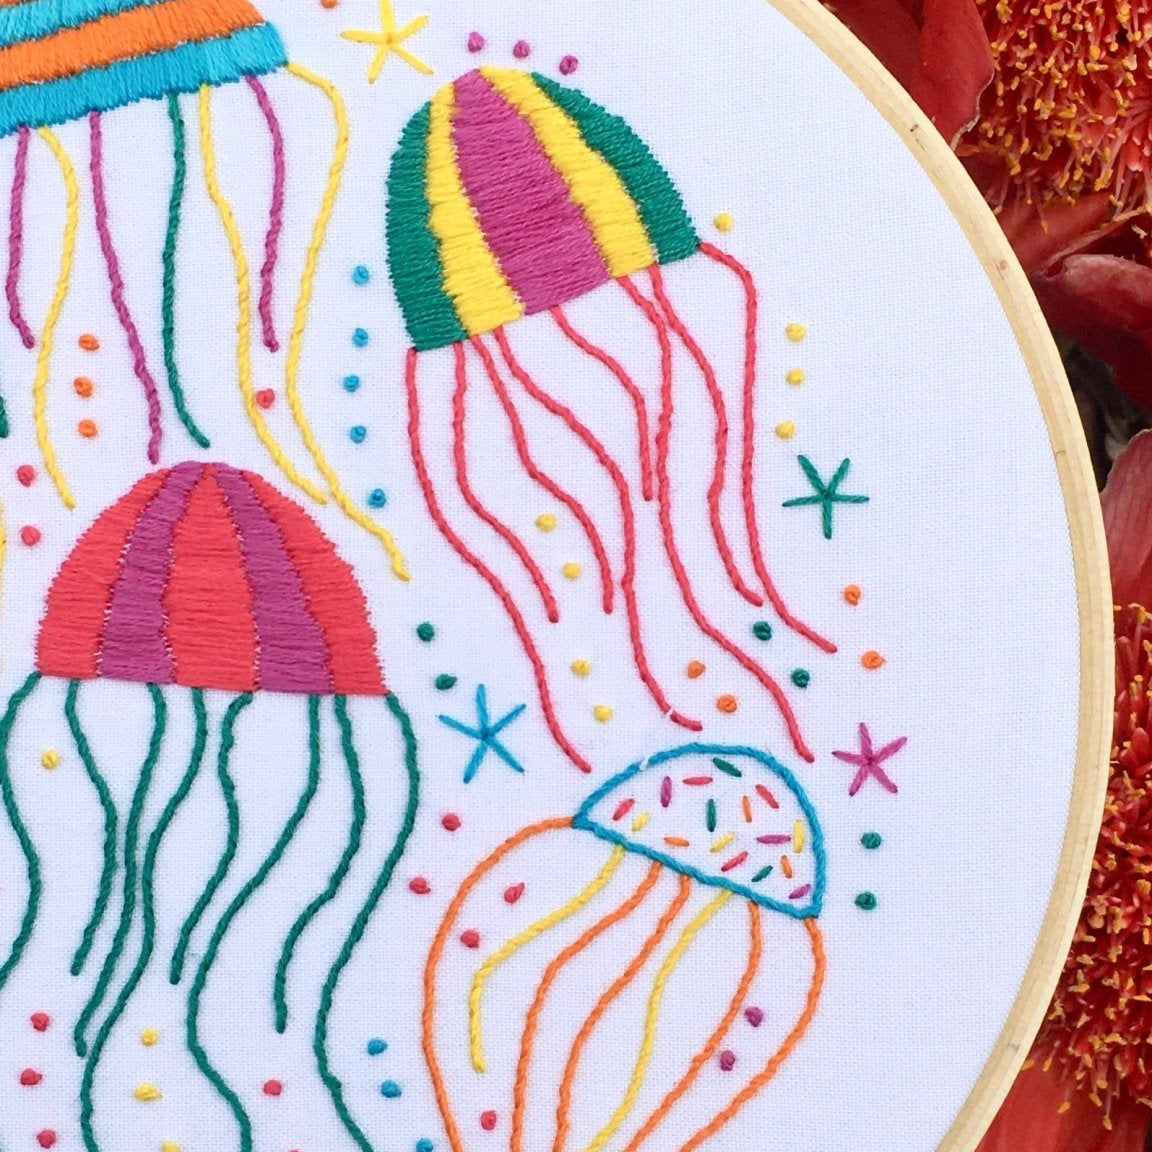
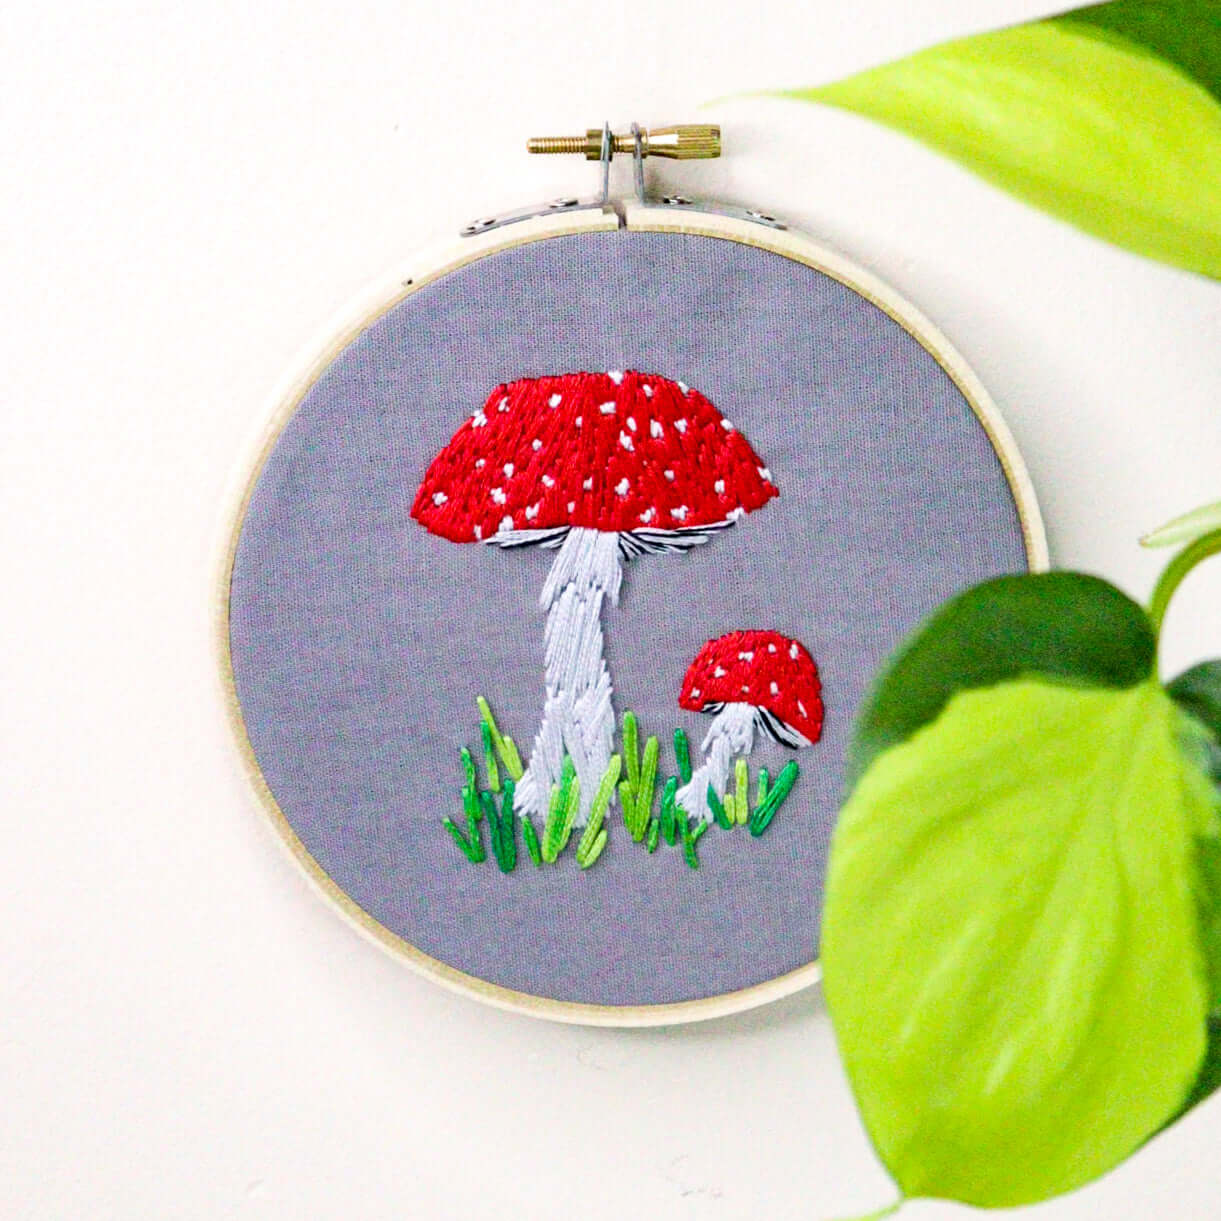
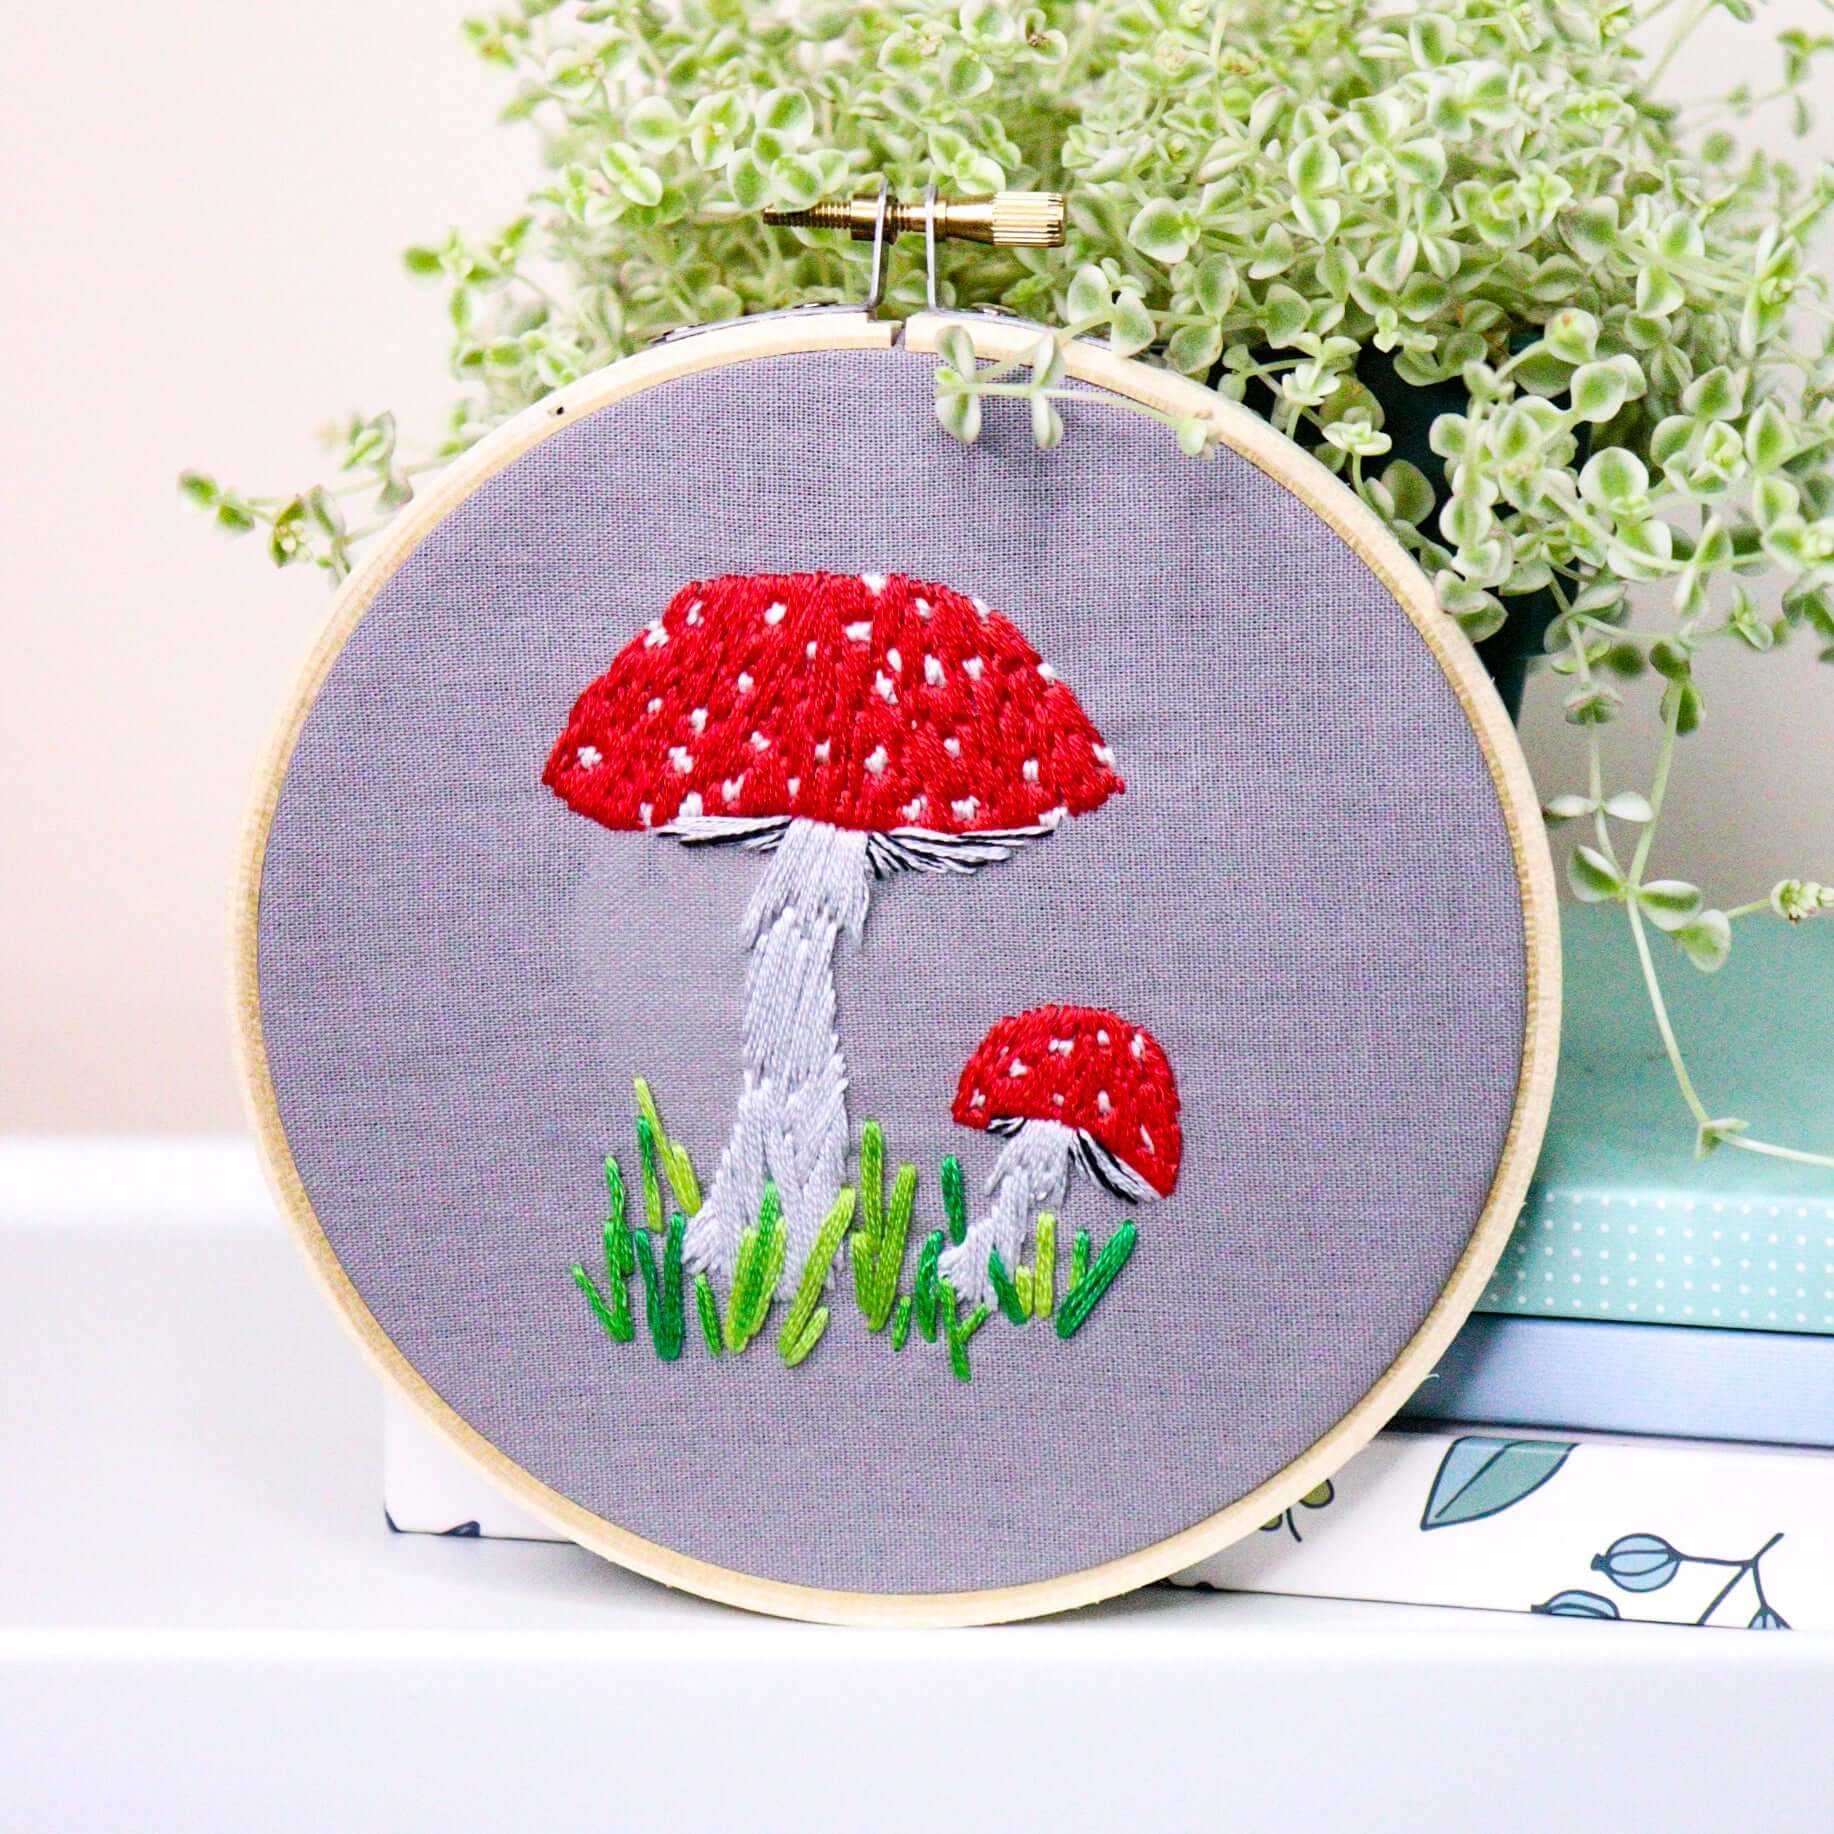
Satin stitch is all about creating a sleek, even surface using straight stitches. It’s ideal for filling areas like petals, leaves, and geometric shapes. The result? A glossy, satin-like finish that really stands out.

How to satin stitch (and it’s easier than you think!)
1. Start with the right thread
Choose a thread that complements your project and fabric. I love using smooth, shiny threads for satin stitch to really make it pop.
2. Secure your thread
Begin by securing your thread at the back of the fabric with a small knot. I like to make a tiny stitch in the middle of the area I’m stitching so the knot gets covered as I stitch.
3. Divide and conquer
One of my favourite tricks for perfect satin stitch is dividing the shape you’re stitching into sections using straight stitches, or 'guide' stitches. This helps keep your satin stitches straight and even, especially in larger areas. Trust me, it makes a big difference!
4. Start stitching
Bring your needle up at one edge of the section and down at the opposite edge, creating long, parallel stitches. Keep your stitches close together for that beautiful satin finish.
5. Work section by section
Fill each section one by one, using the guide stitches to stay on track. By focusing on smaller areas, you’ll get straighter, more even stitches.
6. Finish neatly
Once your shape is filled, secure your thread at the back by tying a small knot.

Tips and tricks for flawless satin stitch
Use the right thread and fabric tension
Consistent tension is key to satin stitch. Too tight and the fabric puckers; too loose, and the stitches look uneven.
Guide stitches are your friend
My go-to technique for satin stitch is dividing the shape into sections with guide stitches. While some stitchers prefer outlining, I find that this trick keeps your satin stitches even, especially for larger areas.
Shorter stitches for curves
If you’re filling a curved shape, use shorter stitches around the curve for a smoother finish. Long stitches can distort the shape.
Start small
If you’re new to satin stitch, practise on small shapes first. This will help you feel confident with satin stitch before tackling larger areas.
Adjust your stitches to your fabric
If you’re working with delicate fabrics, use for finer threads and shorter stitches to maintain a smooth finish.
Satin stitch doesn’t have to be intimidating. With a little practice, you’ll be creating smooth, polished stitches in no time. So grab your embroidery hoop and give it a try. You might just find that satin stitch becomes your new favourite stitch!


