When teaching kids to embroider, simple stitches that are easy to learn are key. The following three outline stitches build on each other, helping kids grow in confidence with each new stitch technique, taking them a step forward every time.
And honestly? They’re perfect for beginners of all ages!

1. Straight stitch
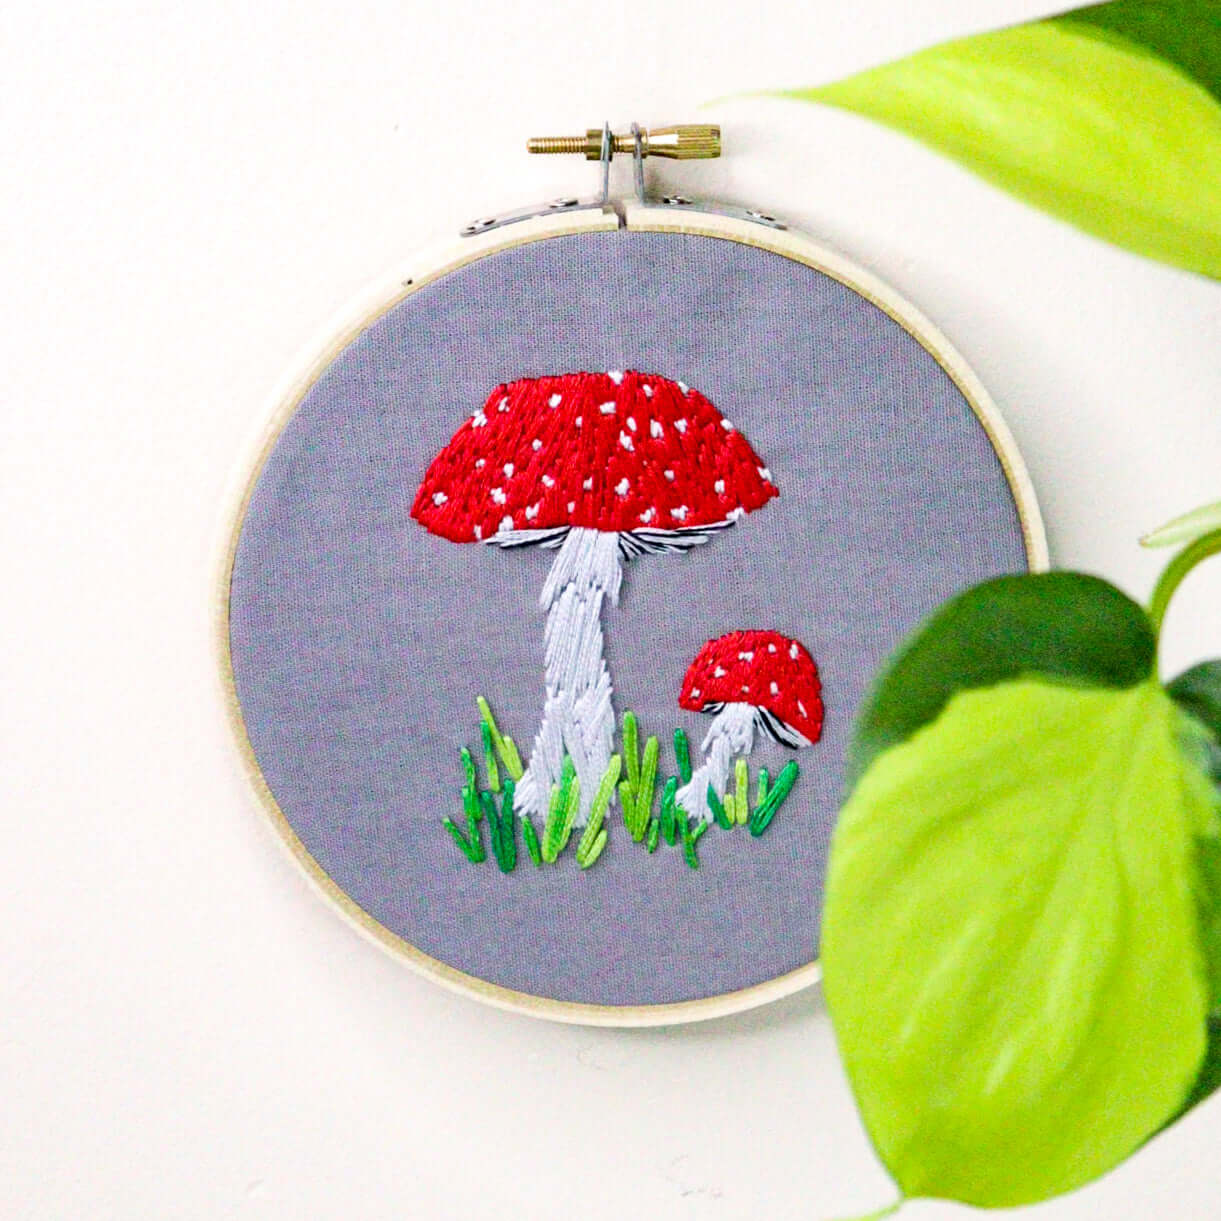
This is the simplest stitch to learn. It’s just a straight line from one point to another and it forms the basis for many stitches. It’s great for kids because it introduces them to the rhythm of stitching and helps develop control over spacing and tension. You can use it for tiny details, patterns, or to fill in shapes.
2. Back stitch
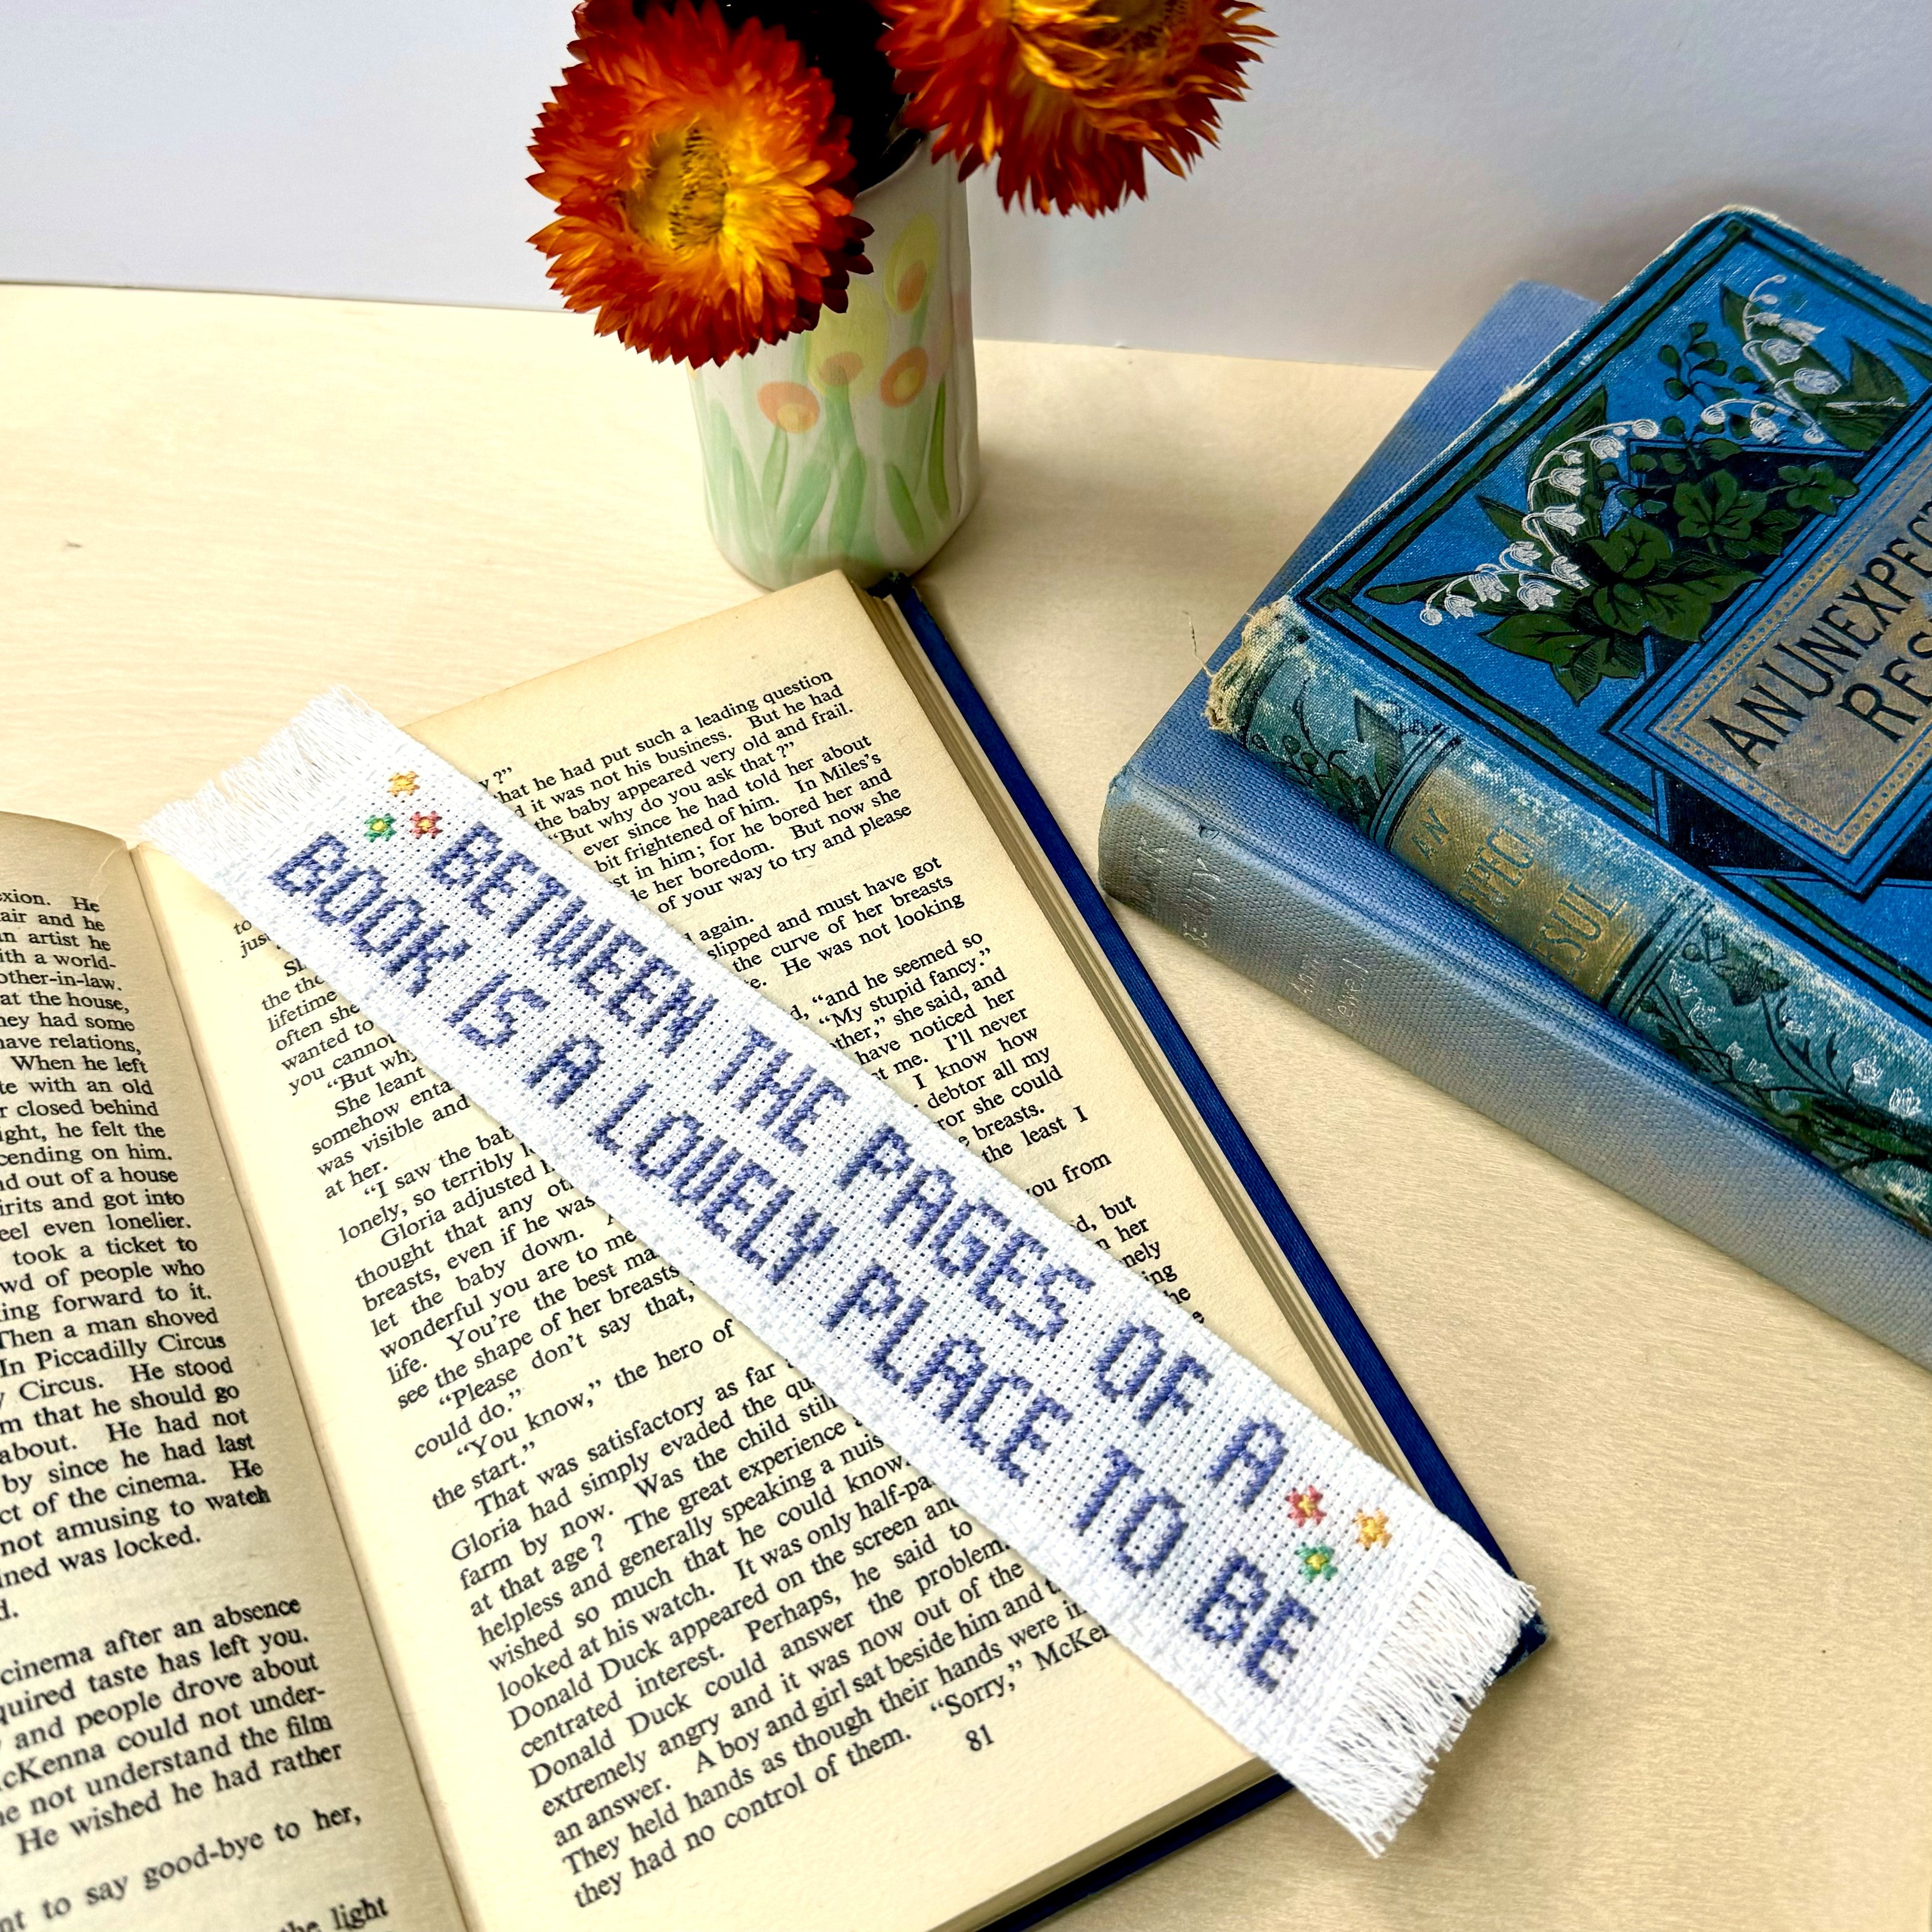
Once straight stitch feels comfortable, back stitch is the natural next step. It creates a single, continuous line that’s perfect for outline shapes and lettering.

3. Whipped back stitch
This is where things get a little more fun! Whipped back stitch involves ‘whipping’ a thread through back stitch to create a rope-like line. It’s a fun way to introduce texture and colour layering by using a contrasting thread colour. Plus, it’s incredible to see how one stitch transforms into something new with a simple twist.
These three stitches are a wonderful way to ease into embroidery, especially for little hands. They’re simple, versatile, and build confidence quickly.
Projects to try:
- Stitch a name onto a fabric bag or pencil case
- Draw a design onto fabric and let kids choose their favourite colours to stitch it
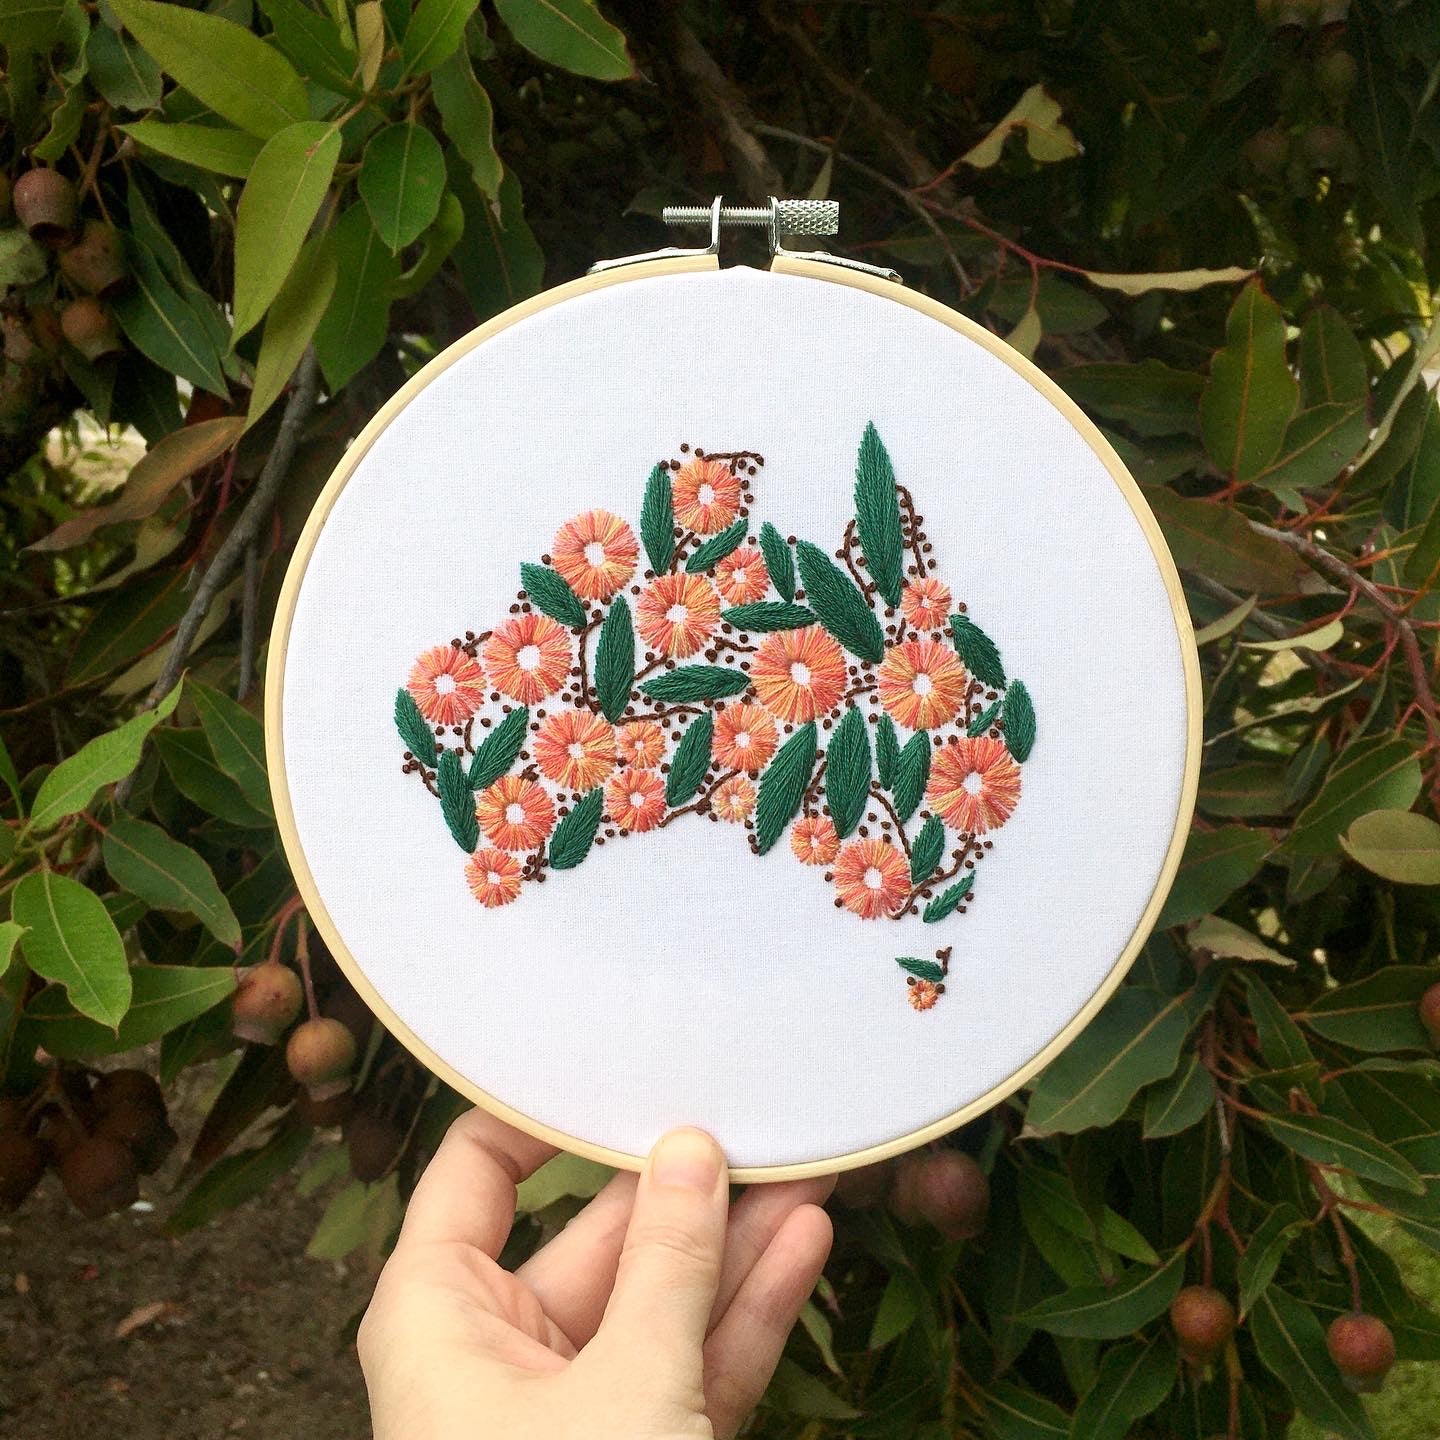
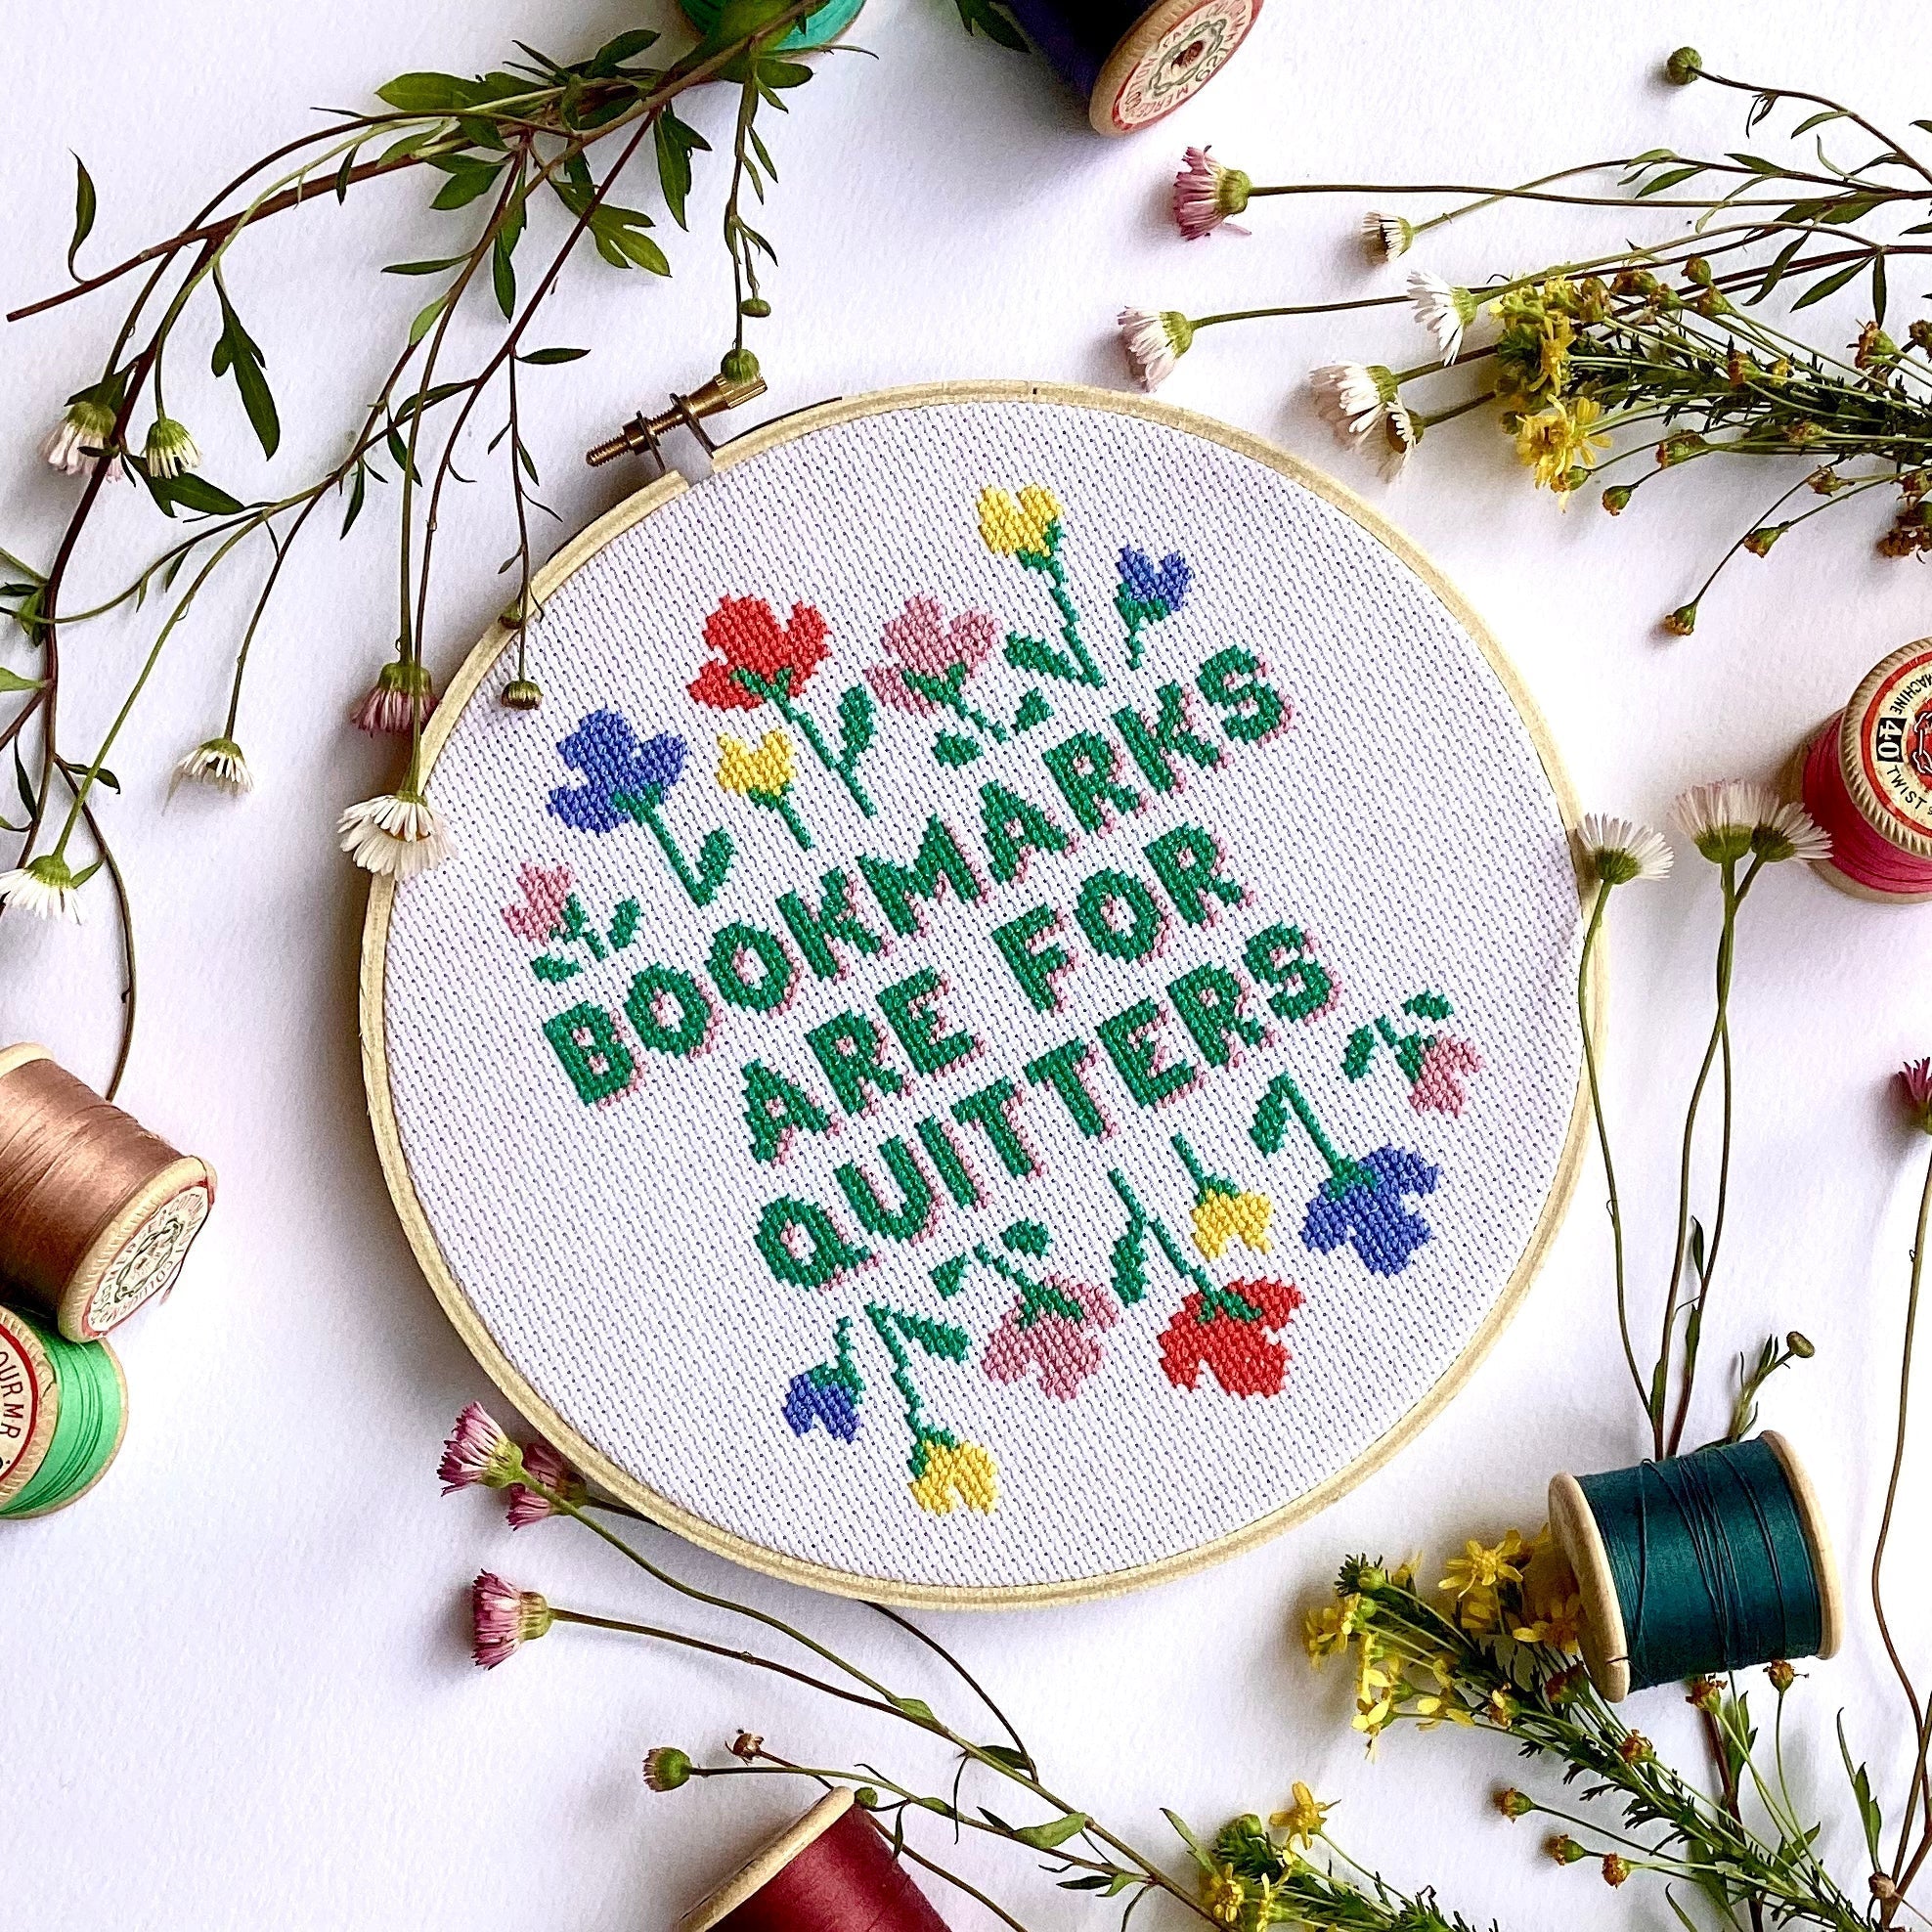
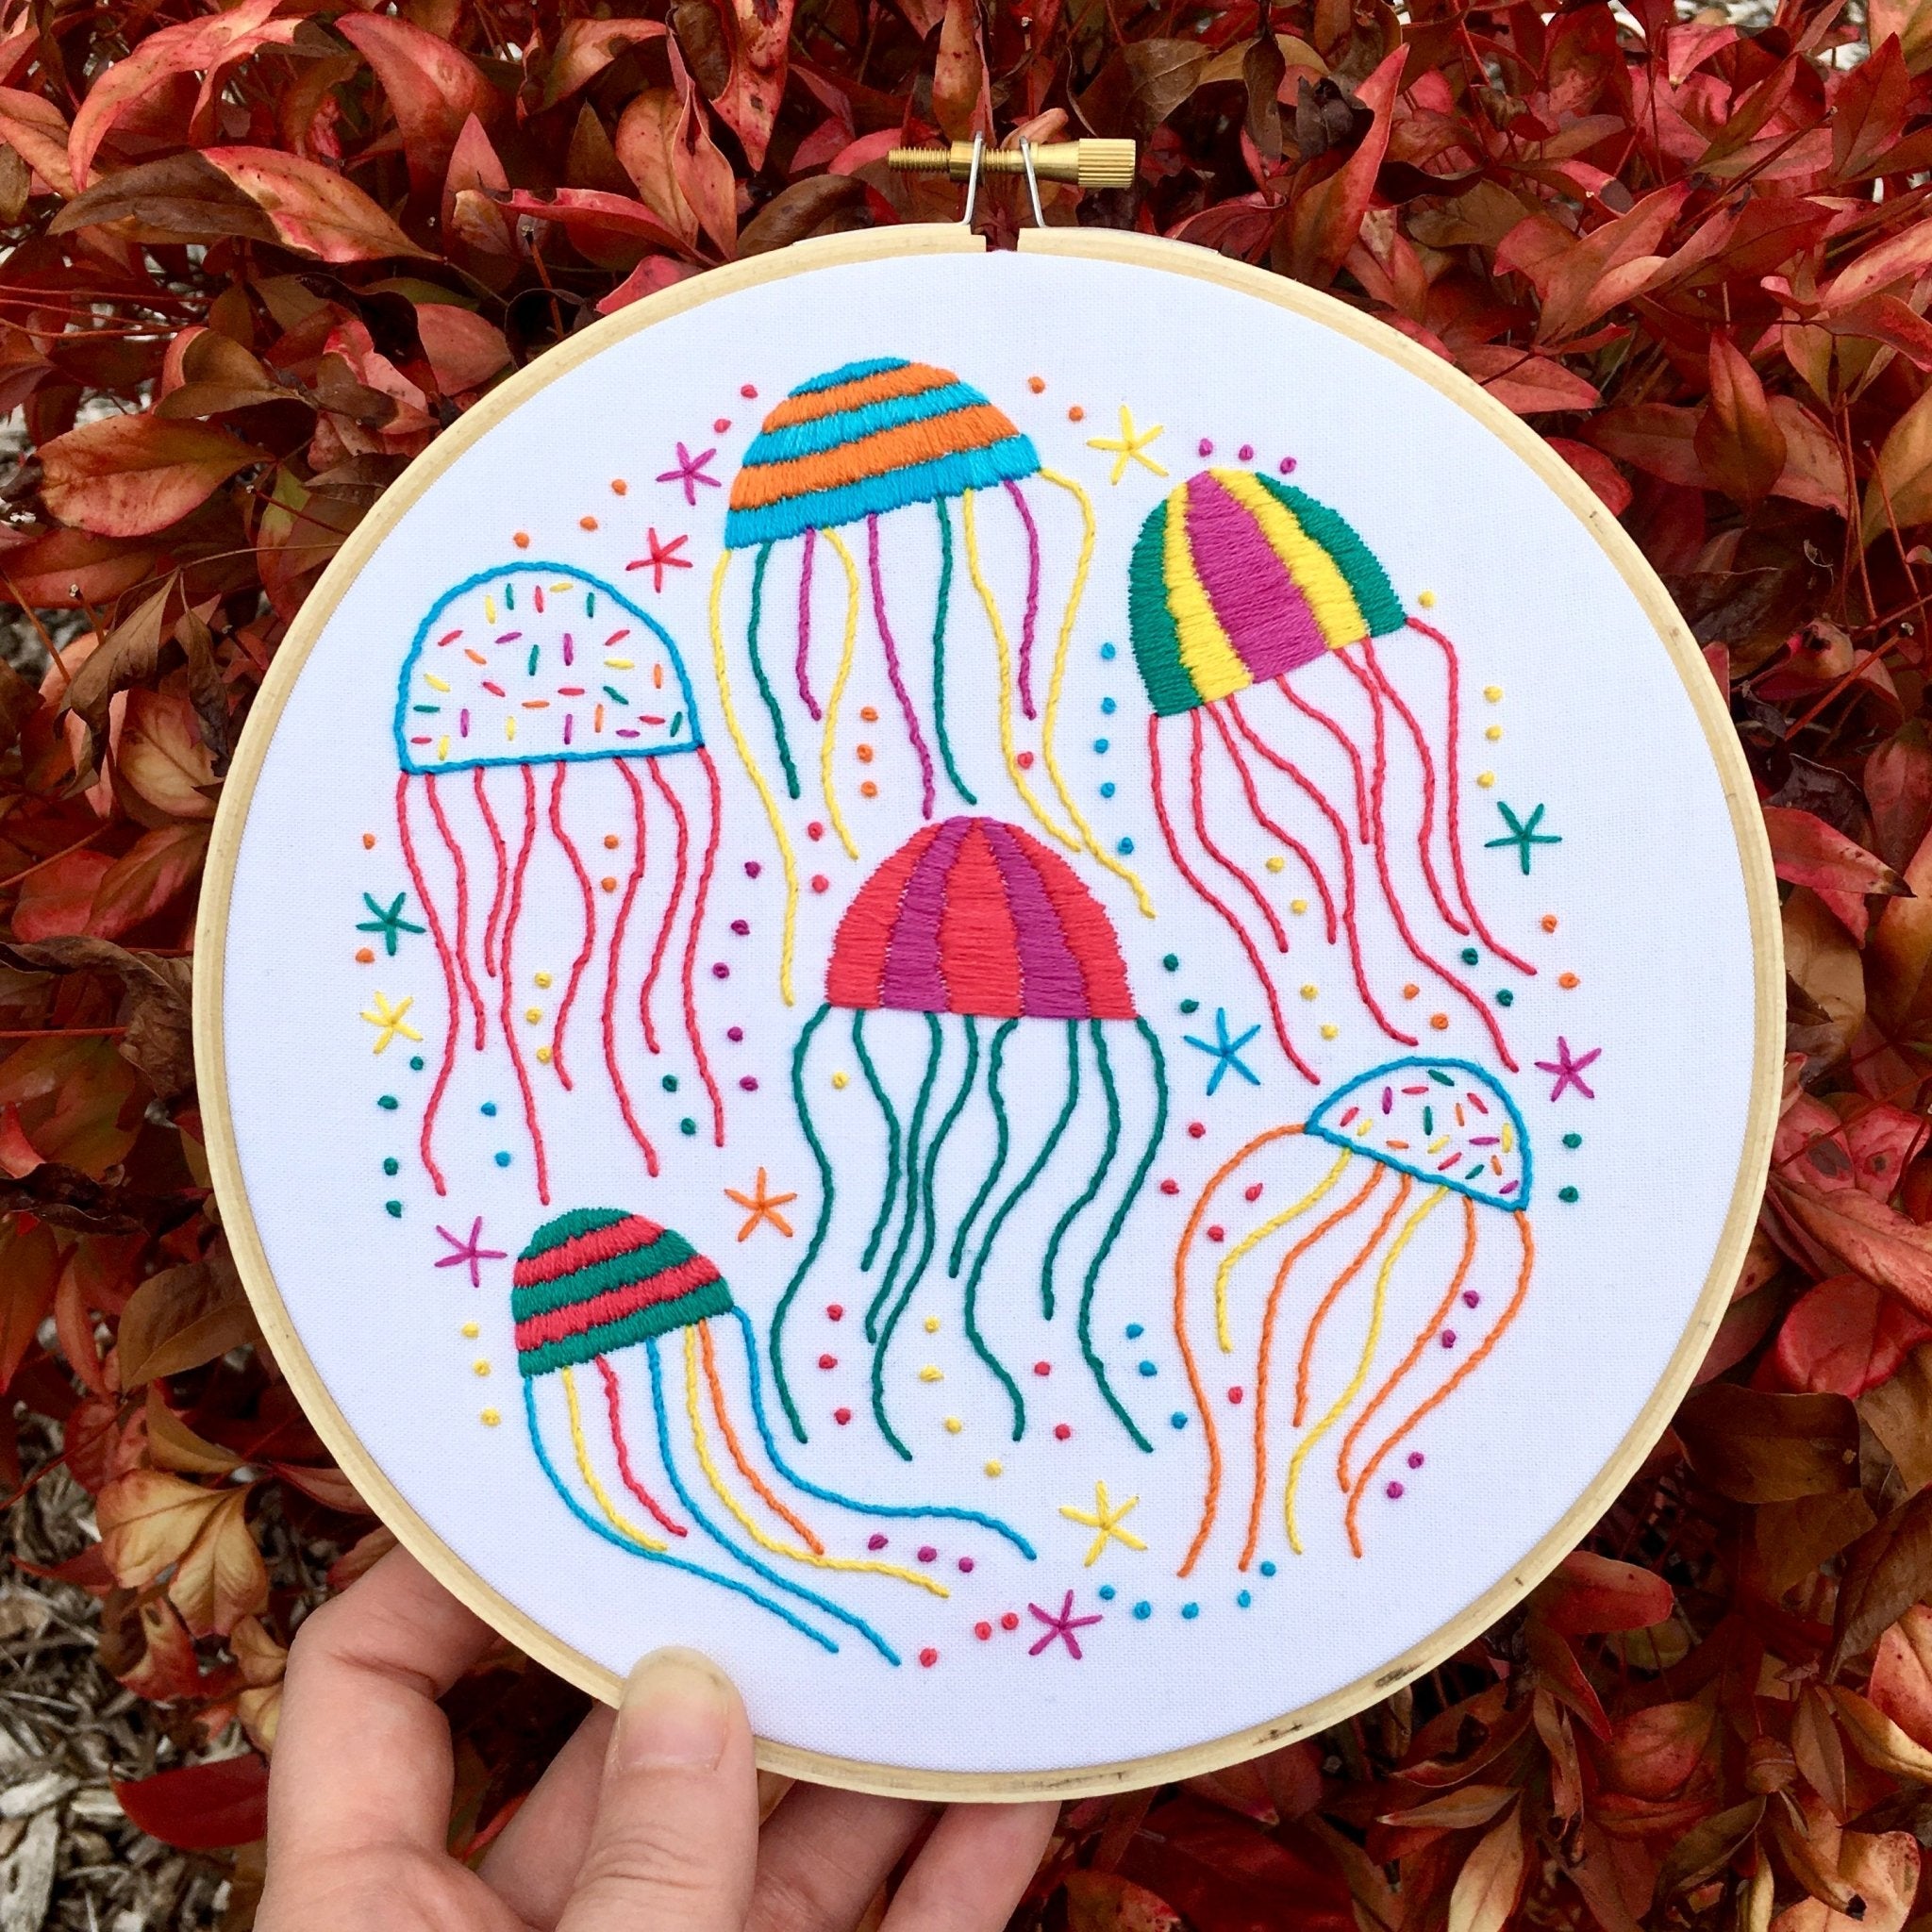
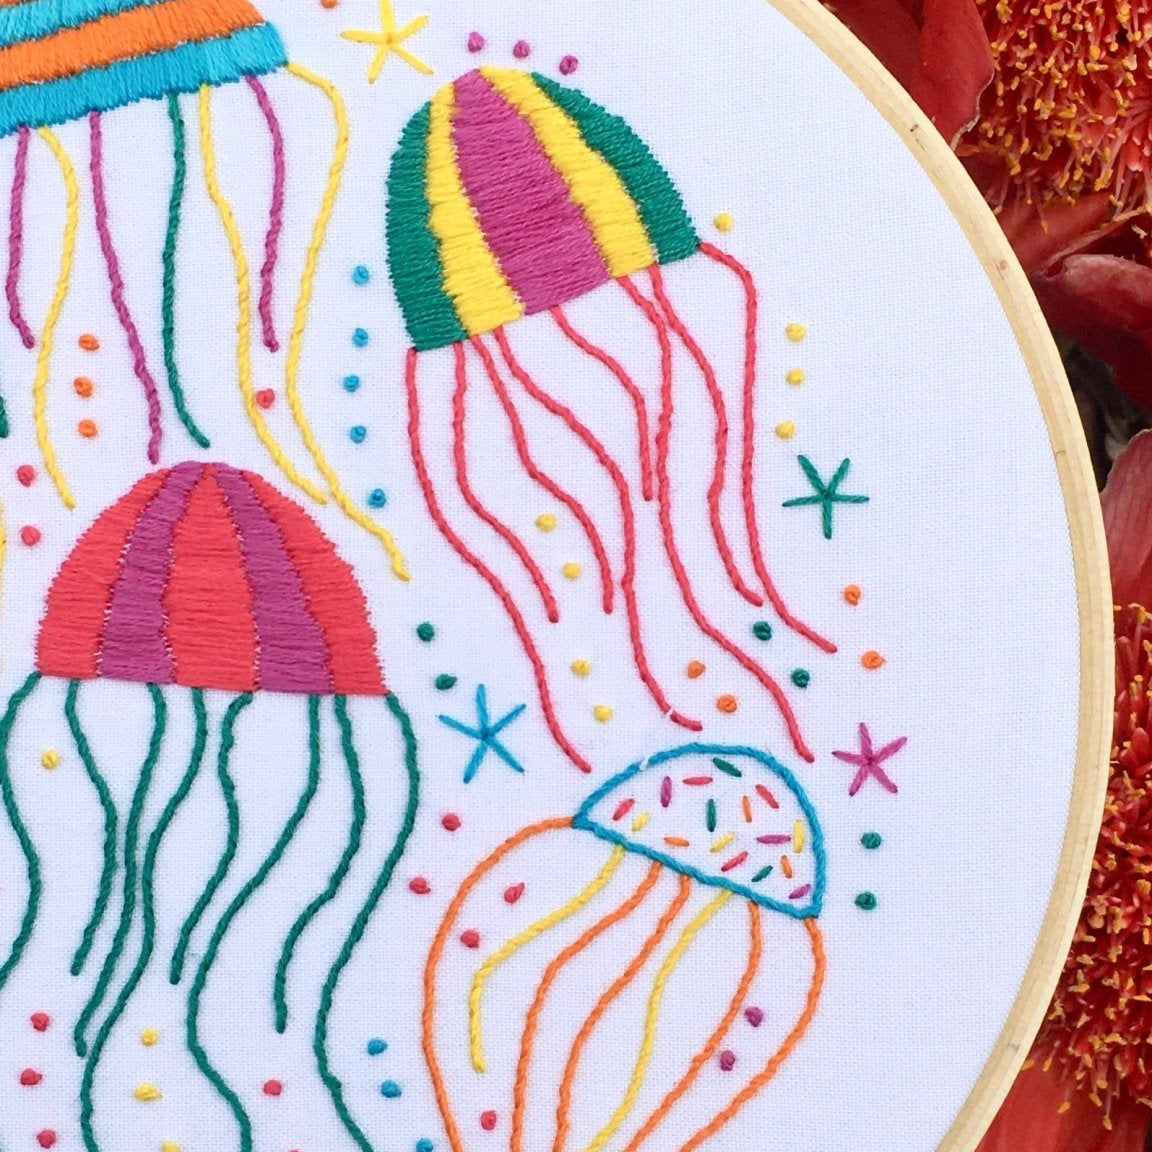
- Make a mini hoop with a favourite word or shape
Remember, the goal isn’t perfection. It’s about having fun, practicing patience and the joy of making something with your hands.


